InSinkErator Troubleshooting Guide
Garbage disposals are essential to any commercial kitchen, and even high-performance brands can wear down or malfunction after frequent use. Leaks, clogs, and unpleasant smells are just a few of the issues that can impact your garbage disposal. We'll walk you through some simple steps to troubleshoot problems with your InSinkErator garbage disposal and offer guidance on when to call a service technician below.
Shop All InSinkErator Garbage Disposal Parts
Use the following links to skip to the InSinkErator maintenance tip that most interests you:
If your InSinkErator garbage disposal isn't turning on, several factors can be the root of the problem. To troubleshoot the issue and get your disposal back to working condition, first identify whether your disposal is plugged into an outlet or hardwired to your electrical system.
If your disposal is plugged in and won't turn on, try one of the following solutions:
- Check the circuit breaker or fuse: Switch the circuit breaker on and off or replace the fuse if needed.
- Check the electrical switch: If the breaker and fuse are working, verify that the electrical switch is functioning. You can do this by unplugging the disposal and plugging another device, like a lamp, into the outlet. Flip the disposal switch on and off to see if the device turns on.
- Contact a service professional: If the garbage disposal does not turn on after checking the circuit breaker and the electrical switch, there may be a mechanical problem or a more serious electrical issue. Contact an electrician to diagnose and fix the problem.
If your disposal is hardwired and won't turn on, examine the following elements:
- Check the circuit breaker or fuse: Switch the breaker on and off or replace the fuse if needed.
- Contact a service professional: If the garbage disposal does not turn on after checking the circuit breaker, there may be a mechanical problem or a more serious electrical issue. Contact an electrician to diagnose and fix the problem.
If your InSinkErator is leaking, there are various maintenance techniques you can use to alleviate the issue. These leaks can originate from various parts of the disposal. Continue reading to learn about the components of an InSinkErator garbage disposal that can leak and how to stop them from leaking:

InSinkErator Leaking from Mounting Assembly
When your InSinkErator is leaking from the mounting assembly, the following factors may be contributing to the issue:
- Poor assembly: Verify that the mounting assembly is installed the right way. You can reinstall it on your own or call a service technician for assistance.
- Disposal locking ring: Check that the garbage disposal locking ring is secure. Rotate the locking ring to the right until it is.
- Loose screws: Verify that your garbage disposal is screwed in tightly.
- Excess plumber’s putty: If your disposal was recently installed, check underneath the sink flange to see if there is excessive plumber’s putty. If there is, uninstall the unit, remove the excess putty, and reinstall the unit again and test for leaks.
InSinkErator Leaking at Discharge
The components listed below may be contributing factors if your InSinkErator garbage disposal is leaking at the discharge:
- Loose nuts and bolts: Verify that all nuts and bolts are attached correctly and tighten them if needed.
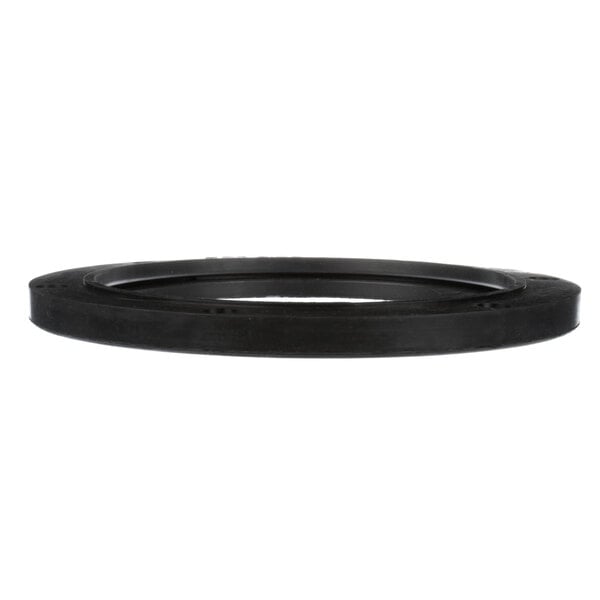
- Gasket: Examine the gasket for any accumulated debris or cracks. Clean or replace the gasket if needed.
- Elbow joint: Search for cracks or additional damage to the discharge elbow and verify that it is attached correctly. Replace any damaged parts.
InSinkErator Leaking at Dishwasher Inlet
If you notice a leak coming from the dishwasher inlet, one or more of the following factors may be the cause:
- Knockout plug: The knockout plug is a small piece located inside the dishwasher inlet. You must remove the knockout plug to attach the dishwasher drain hose, and failure to do so can cause blockage and contribute to leaks.
- Clamps: Confirm that the clamps are secure and tighten any that seem loose.
- Hose adapter: If your disposal uses a hose adapter, verify that it is intact and secured.
- Elbow or trap joint: Ensure that the elbow joint and trap joint are secured.
InSinkErator Leaking from Bottom
If your InSinkErator garbage disposal is leaking from the bottom of the unit, its internal seals may be worn out. To fix this issue, confirm the source of the leak and contact a service agent for repairs.
InSinkErator Leaking Through Container Body
If your disposal is leaking through the container body, there may be structural damage to the unit. Verify that the source of the leak isn't coming from another part of the disposal and contact a service agent for repairs.
InSinkErator Leaking at Motor Joint
If your garbage disposal is leaking from the motor joint, it may have a defective boot seal or shaft seal. To fix this problem, contact a service agent for repairs. Verify the source of the leak before reaching out to ensure you are getting the proper service.
InSinkErator Leaking from Adjacent Plumbing
If your garbage disposal is leaking from adjacent plumbing fixtures, tighten any connecting joints as needed. If the problem persists, contact a service agent for repairs.
Over time, your disposal may become clogged with food and other substances. Some clogs can become severe and cause damage to the disposal if they are not dealt with promptly. Others can be so serious that you'll have to contact a licensed plumber to fix the issue. Follow these steps to alleviate minor clogs and keep your kitchen running efficiently:
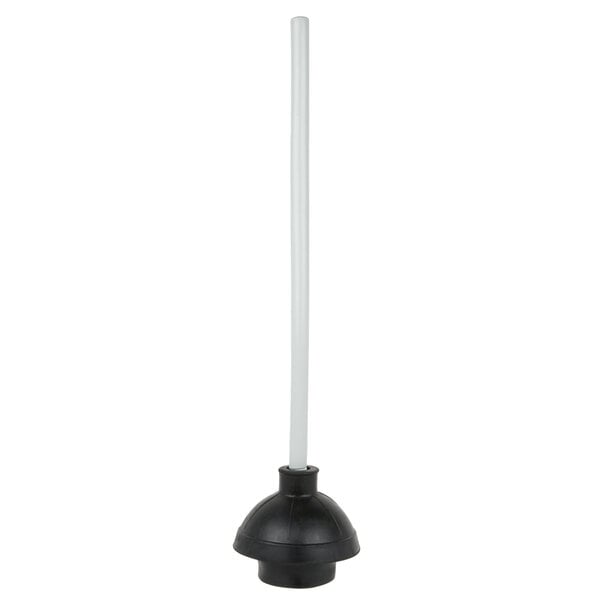
Free the clog: Use a plunger to loosen the clog in the drain. If your disposal is attached to a two compartment sink, use a stopper to block the other sink's opening.
Fill the sink with water: Once the clog is loose, fill your sink with 4 inches of water. Place the plunger over the garbage disposal opening and press down slowly and gently, then quickly pull the plunger upwards. Repeat this action until the clog is removed.
Clean the sink: Run water through your garbage disposal and remove any debris from your sink to maintain a clean working environment.
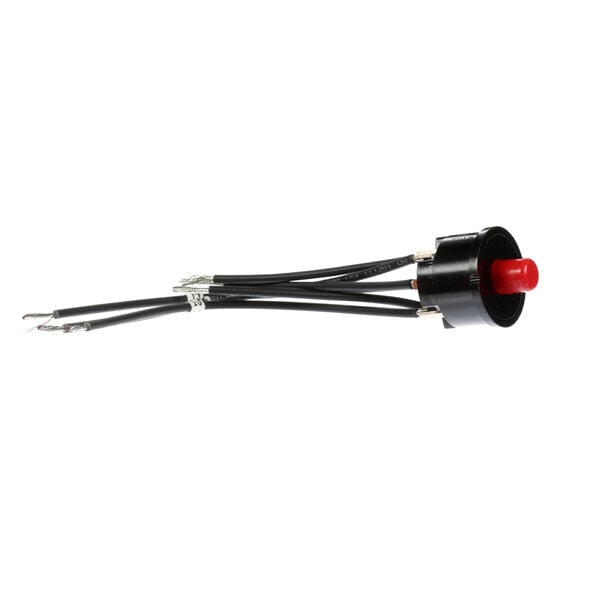
In many cases, a simple reset can resolve many problems affecting your garbage disposal. On most InSinkErator models, the reset button is located on the bottom or side of the unit. Follow the steps below to reset an InSinkErator garbage disposal.
Turn off the power: Disconnect the power supply to the disposal by turning off the circuit breaker or unplugging the unit.
Locate and press the reset button: Locate the red reset button and hold it down for approximately 15 seconds. Once time has passed, release the button to reset the unit.
Turn on the power: Reconnect the disposal to power by turning the circuit breaker back on or plugging it into an outlet.
Test the unit: Turn your garbage disposal on and run water through it to verify the problem is fixed. If the problem persists, contact a service technician for additional assistance.
There are several reasons why an InSinkErator garbage disposal will turn on but not spin. In many cases, this can mean power isn't reaching the motor, which keeps the grinder from spinning. If you are experiencing electrical issues, contact a licensed electrician. If electrical issues are not the problem, the following factors may be playing a role:
- Garbage disposal overheating: If the unit overheats, the disposal will shut off the blades. In most cases, overheating is the result of overuse of the appliance. To fix this issue, give the unit time to cool down and then run a test to see if the unit works again.
- Grinder is worn out: The more you use your garbage disposal, the faster its grinder will wear down. Shut the unit off and push the reset button to remedy this issue. If the problem persists, consider purchasing a replacement grinder or calling a service agent.
- Grinder is clogged: In many cases, debris can clog your drain and cause the garbage disposal to stop spinning. Unclog the drain and see if the disposal starts spinning. If it doesn't, contact a service agent.
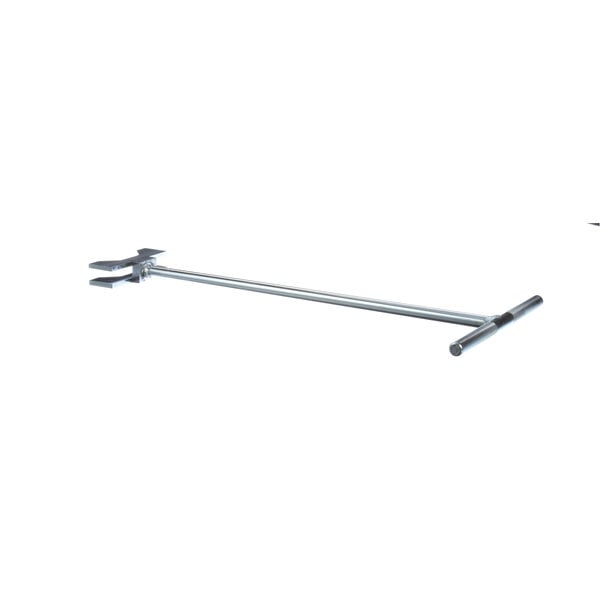
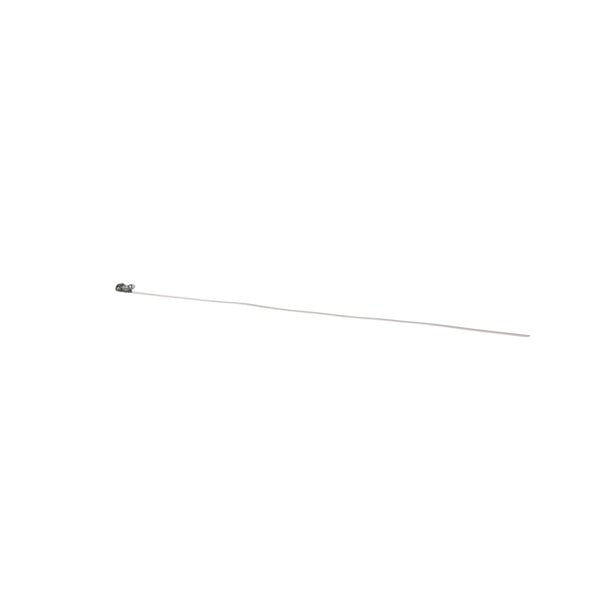
If your InSinkErator is making a slinking, metallic, or rattling noise, there may be an issue with the grinding chamber. You'll need the dejamming wrench that ships with your garbage disposal, a flashlight, and tongs or pliers to alleviate the problem. To stop the noise, follow these steps:
Turn the unit off: For safety reasons, disconnect your disposal from the power source.
Insert the wrench: At the bottom of the garbage disposal, there is a small hole for maintenance. Insert the wrench into this hole and turn it to the left.
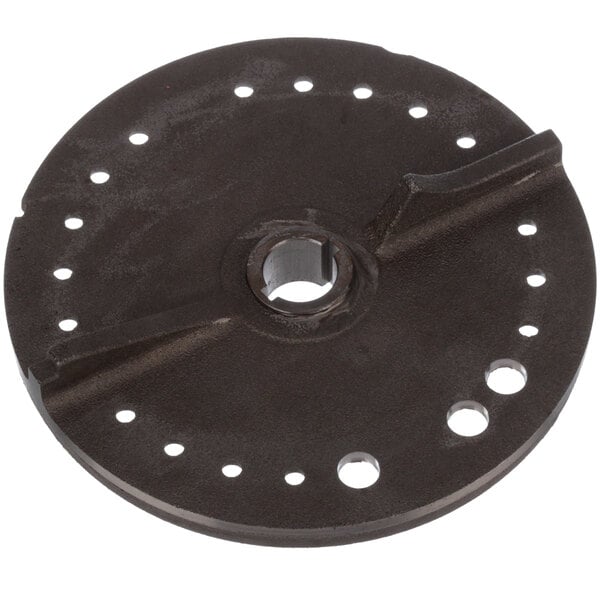
Check the chamber: Use a flashlight to look down the garbage disposal and scan for damage or debris. Pay attention to the outer edge of the shredding disk. If you see any debris, remove it using tongs or pliers.
Reassemble the unit and test: Once the debris is removed, put the unit back together. Run water through the unit and turn it on to check that the noise is gone. If the noise persists, contact a service professional.
Cleaning your garbage disposal is an essential process that prevents the buildup of harmful bacteria and eliminates foul kitchen odors. Set aside time to clean your garbage disposal every week and add it to your restaurant cleaning checklist. To avoid personal injury, make sure your garbage disposal is disconnected from power before you start cleaning. To clean your InSinkErator garbage disposal the right way, follow these steps:
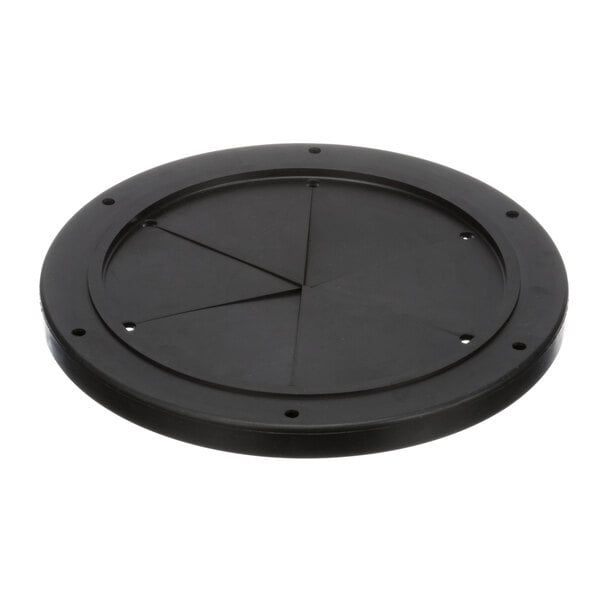
Rinse the baffle: In most cases, particles of food can stick to the bottom of your baffle. If your InSinkErator garbage disposal has a removable baffle, detach it from the unit and rinse it off.
Clean the lip: With the baffle removed, use a cloth or paper towel to wipe the underside of the disposal's lip.
Eliminate odors: Grind citrus fruits like oranges or lemons in the disposal to alleviate foul odors. The citric acid contained in these fruits is an effective tool for eliminating organic smells.
Related Resources

Garbage Disposal Buying Guide
A commercial garbage disposal, or disposer, is an asset to any commercial kitchen. Garbage disposals cut labor costs by quickly removing waste that is difficult to dispose of, and they help save money on waste collection bills. This buying guide will go over how to choose the best garbage disposal for your business to make the selection process simple. Shop All Commercial Garbage Disposals Use the following links to navigate this guide and learn more about garbage disposals: What Size Garbage Disposal Do I Need? Diagram of a Garbage Disposal How to Clean a Garbage Disposal Garbage Disposal Pros and Cons Garbage Disposal Parts How Will a Garbage Disposal Affect My Utility Bills? Garbage Disposal Alternatives

Types of Compartment Sinks
Compartment sinks are an essential piece of equipment in any commercial kitchen, providing a convenient and efficient way to wash and clean dishes as well as prep food items. These sinks can come with multiple compartments, each serving a specific purpose and function. Commercial kitchens are subject to strict health and safety regulations, and having the right type of compartment sink is crucial to maintaining a clean and sanitary workspace. Compartment sinks are available in various sizes and configurations to suit different needs and kitchen layouts .
Three Compartment Sink Rules
Clean and sanitary tableware is as fundamental to restaurants as a menu. When used properly, three compartment sinks help restaurants stay up to health code standards. However, you must train your staff to follow all the steps in the three sink method. Noncompliance with three compartment sink rules can lead to food-borne illnesses, hefty fines, and, at worst, restaurant closures. To help prevent these damaging consequences, we've created a guide explaining how to use your three compartment sink correctly. Shop All Three Compartment Sinks Click any of the sections below to read the 3 compartment sink rules that interest you: 3 Sink Method 3 Compartment Sink Order Three Compartment Sink Steps Water Temperature in a Three Compartment Sink Wha
- Topics 1366
- Industrial 55
- Troubleshooting Guides 21
- Restaurant Management 130
- Bar Management 58
- Catering Tips 37
- Bakery Management 42
- Food Trucks & Concessions 49
- Advertising & Marketing 37
- Eco-Friendly Tips 11
- Facility Layout & Design 42
- Coffee Shop Tips 29
- Installation & Maintenance 52
- Janitorial & Pest Control 30
- Safety & Sanitation 89
- Startup Tips 104
- Menu Design 10
- Kitchen & Cooking Tips 84
- Hospitality Management 24
- Pizza & Sandwich Shop Tips 36
- Smallwares 37
- Food Prep 90
- Tabletop Items 17
- Disposables 22
- Calculators & Tools 6
- Consumables 52
- Warewashing & Laundry 18
- Cooking Equipment 92
- Food Storage & Refrigeration 51
- Beverage Equipment 35
- Office Supplies 6
Join Our Mailing List
Receive coupon codes and more right to your inbox.